


Negative film is a type of photographic film used in traditional film photography. It's called "negative" because the image captured on this type of film appears as a reverse of the actual scene's colors and brightness. In other words, the areas that were brightest in the scene appear darkest on the negative, and vice versa.
 |
| Before (left) and after (right) the negative film conversion into positive. |
Negative film is used in conjunction with the process of developing and printing to create the final positive image. This involves exposing light-sensitive paper to the negative, which results in a positive image that reflects the original colors and tones of the scene. The negative film's reversal of colors and brightness helps create this positive image during the development process.
Negative film comes in various formats and sensitivities (ISO/ASA ratings), and it was widely used in photography before the digital era. Photographers would capture images on negative film, develop the film, and then make prints or enlargements from the negatives. The popularity of negative film declined with the advent of digital photography, but it still holds a place in the world of analog and artistic photography.
I want to converting negative film into positive can be it done in Photoshop?
Yes, you can indeed convert a negative film into a positive image using Adobe Photoshop. Here's a step-by-step guide on how to do it:
1. Scan the Negative Film:
First, scan the negative film using a film scanner. Save the scanned image in a digital format (such as TIFF or JPEG) on your computer.
2. Open the Negative in Photoshop:
Open Adobe Photoshop and go to "File" > "Open" to open the scanned negative image.
3. Duplicate the Layer:
In the Layers panel, right-click on the Background layer and choose "Duplicate Layer." This will create a copy of the negative image layer.
4. Invert the Duplicate Layer:
With the duplicated layer selected, go to "Image" > "Adjustments" > "Invert" or simply press "Ctrl+I" (Windows) or "Command+I" (Mac). This will invert the colors of the duplicate layer, effectively turning the negative into a positive.
5. Blend Mode:
Change the blend mode of the duplicated, inverted layer to "Screen." You can find the blend mode options at the top of the Layers panel. This blend mode will help adjust the brightness and make the positive image clearer.
6. Adjust Levels or Curves:
You may need to adjust the levels or curves of the positive layer to enhance the image's contrast and brightness. Go to "Image" > "Adjustments" > "Levels" or "Curves," and make adjustments until the image looks good.
7. Color Correction (Optional):
If the colors in the positive image don't look quite right, you might need to perform color correction. You can use the "Image" > "Adjustments" > "Color Balance" or other color correction tools to fine-tune the colors.
8. Merge or Flatten Layers:
Once you're satisfied with the positive image, you can either merge the layers by selecting them and right-clicking to choose "Merge Layers," or you can flatten the image by going to "Layer" > "Flatten Image."
9. Save the Positive Image:
Finally, save the positive image in the desired format (e.g., JPEG) by going to "File" > "Save As" and choosing the format and location for the file.
Remember that the specific adjustments you need to make will depend on the quality of the negative scan and your preferences for the final image. This process might require some trial and error to achieve the best results. If you're not familiar with Photoshop, it might be helpful to practice on a few test images before working with your valuable negatives.
 |
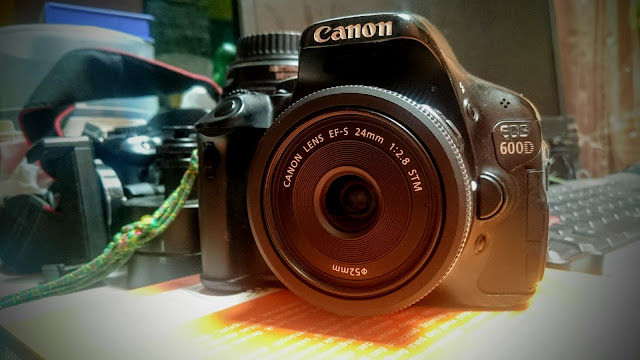
| Old film camera, this camera take pictures using film seluloid, the origin of negative film. |
 |
| Even tough this is just a toy camera, this camera also can take picture, of course by using negative film. |
Converting negative film to positive images can be a rewarding process, and with a bit of practice and experimentation, you'll likely improve your skills and achieve great results. If you have any more questions in the future or need further assistance, feel free to ask. Happy film conversion!


Comments
Post a Comment